Beginner guide: your first hour in TOEM 2
A quick pass over what TOEM 2 actually asks of you in the first hour, and the handful of settings worth fixing before your first photo.
The short version
| Question | Short answer |
|---|---|
| What am I actually doing? | Walking through hand-drawn towns, taking photos of what people and places need photographed, and filling a stamp book as you go. |
| Do I need to play the first TOEM? | No. The story stands alone, and the systems are introduced from scratch. Veterans will simply recognise the rhythm sooner. |
| Is anything missable? | The game is built around revisiting regions, so nothing here is designed to be lost forever. Shoot generously anyway — extra photos cost nothing. |
| Keyboard and mouse or controller? | Both work; the demo shipped with separate rotation settings for overworld and photo mode, so set those first (see below). |
Settings worth fixing before you leave the tutorial
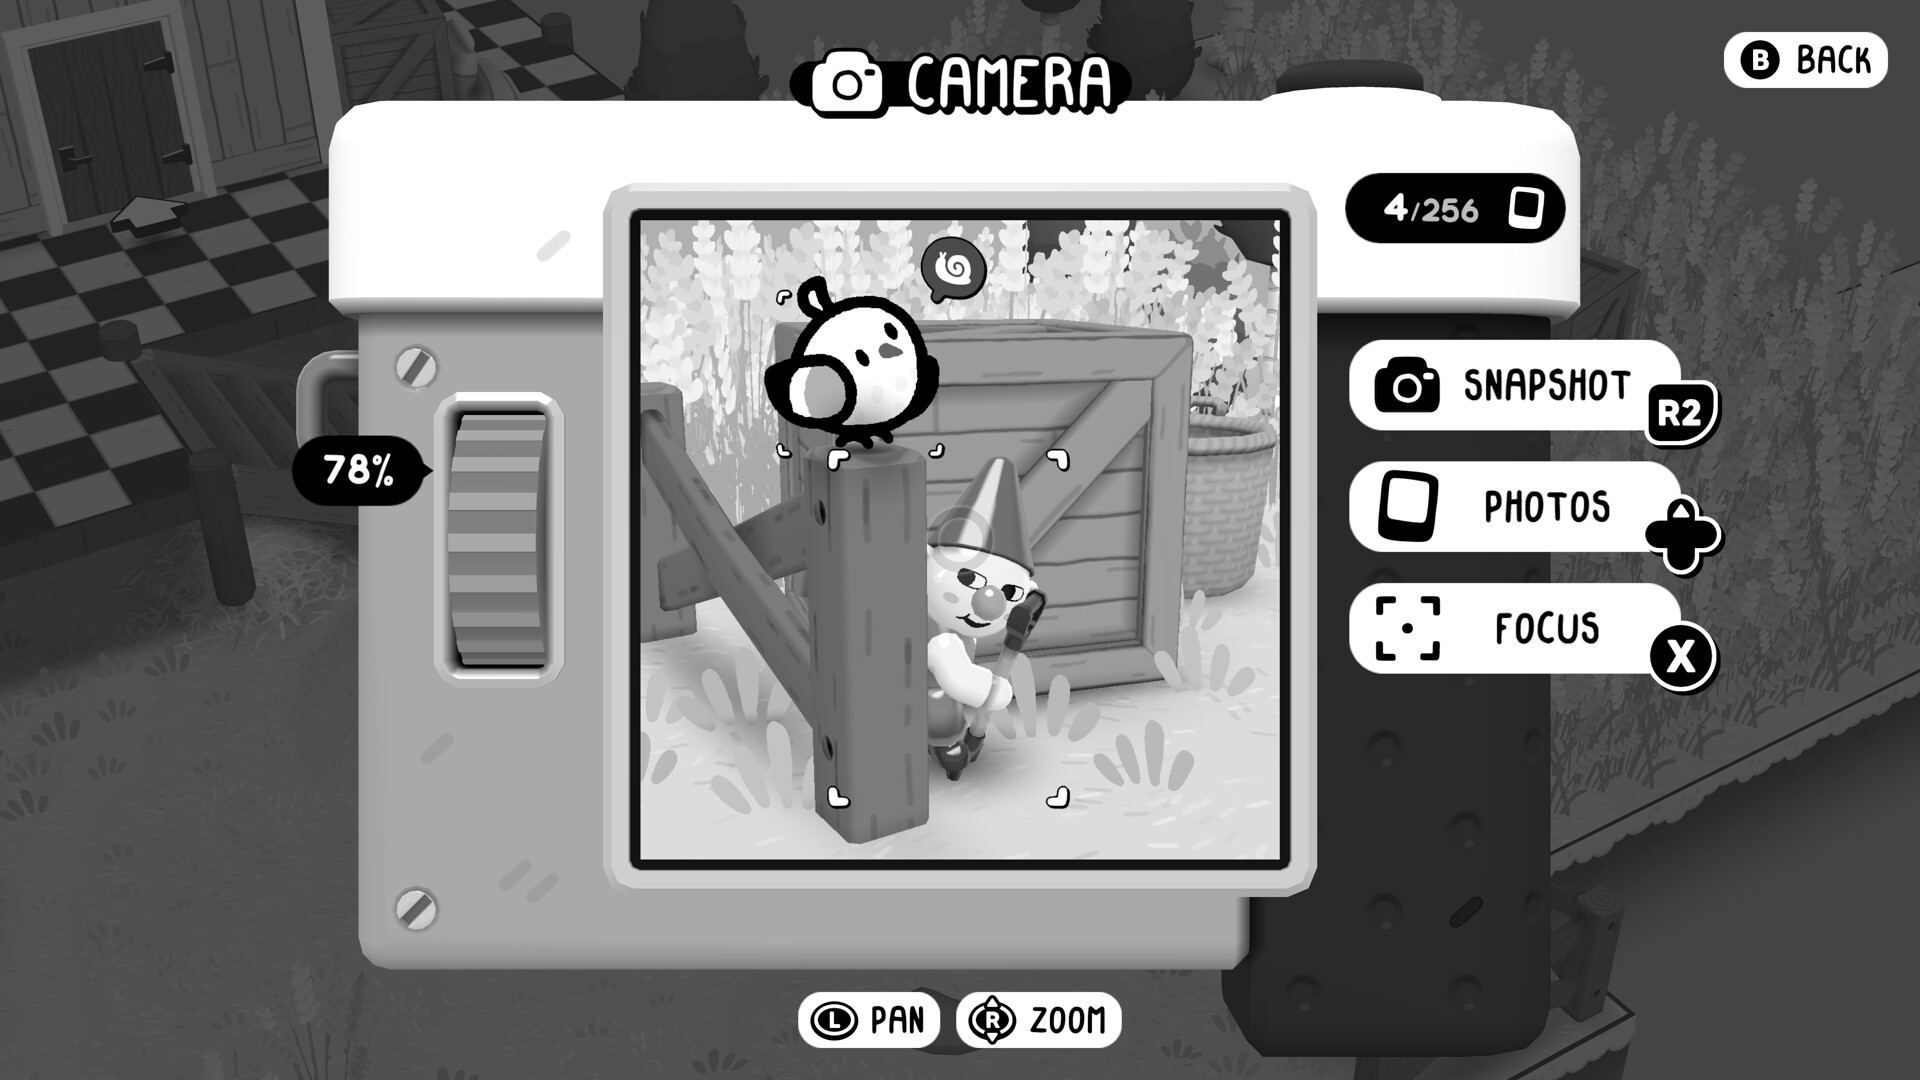
The demo's patch notes show the one setting most players fumbled: camera rotation. Invert handling is split into two separate options — one for the overworld camera and one for photo mode. Set both at the start, in the options menu, before muscle memory forms around the wrong one.
Two more quick passes while you are in there:
- Rotation speed — shown as a percentage in the demo builds. Photo mode benefits from a slower speed than the overworld; you can only match one number, so pick the compromise you tolerate.
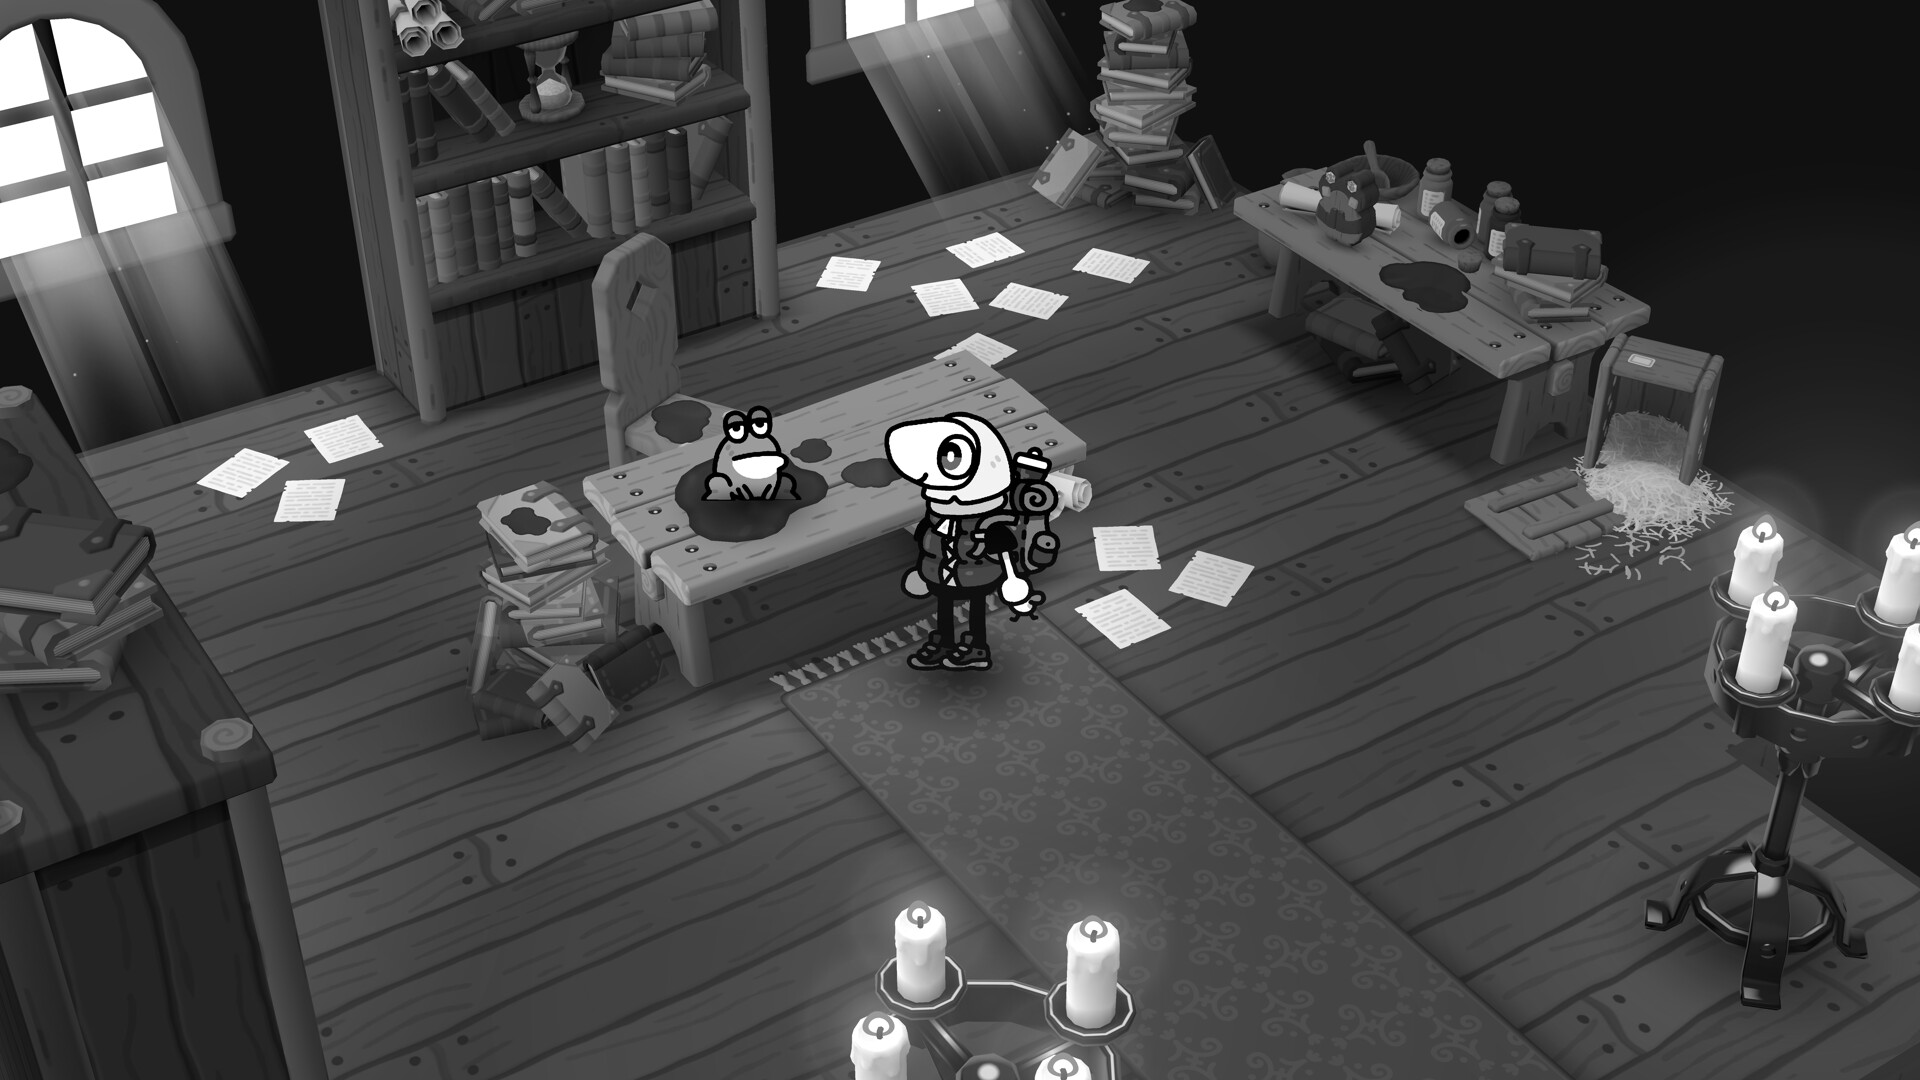
- Readability details — TOEM 2 leans on small visual cues (pipes, buttons, tiny critters). If your display is small, raise brightness early rather than fighting a dark interior later.
If you are on Steam Deck, the game is officially Verified, so the default controller layout is the intended one — no tinkering needed.
Your first hour, step by step
- Walk the opening area and finish the photo tutorial. Take a spare moment to test the photo mode's zoom and rotation here, where nothing is timed.
- Photograph everything that looks like it wants photographing. Benches, animals, signs, strangers mid-gesture. TOEM's tasks are generous about what counts, and a bank of stray shots often covers requests you have not met yet.
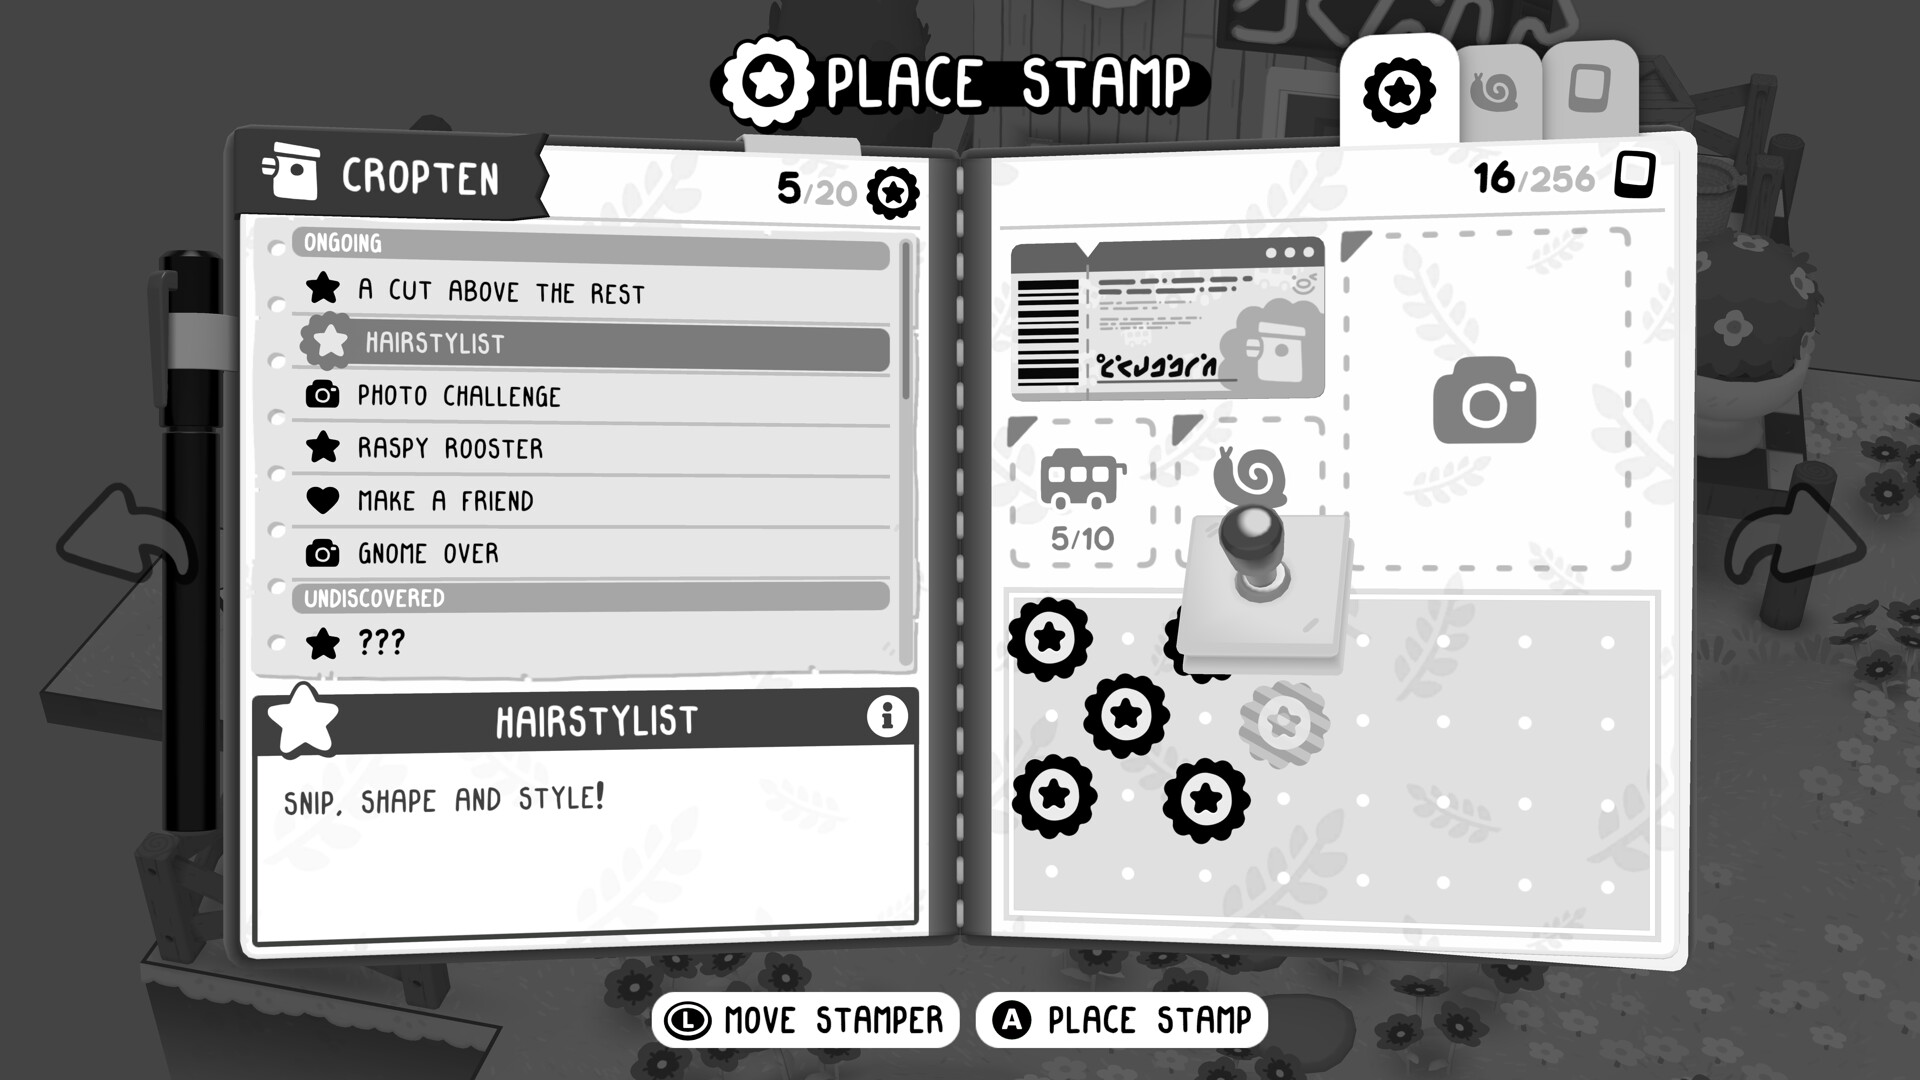
- Check the stamp book after each session. New stamps appear as a region recognises what you have done; an empty slot when you expected a stamp usually means the photo was taken from too far away.
- Meet everyone in the first town before moving on. Requests come from characters, not from a quest log — the map does not mark whom you have not met yet.
- Leave one region when its list feels done, not perfect. You can travel back; the regions are designed to be revisited with a new camera eye.
Habits that pay off later
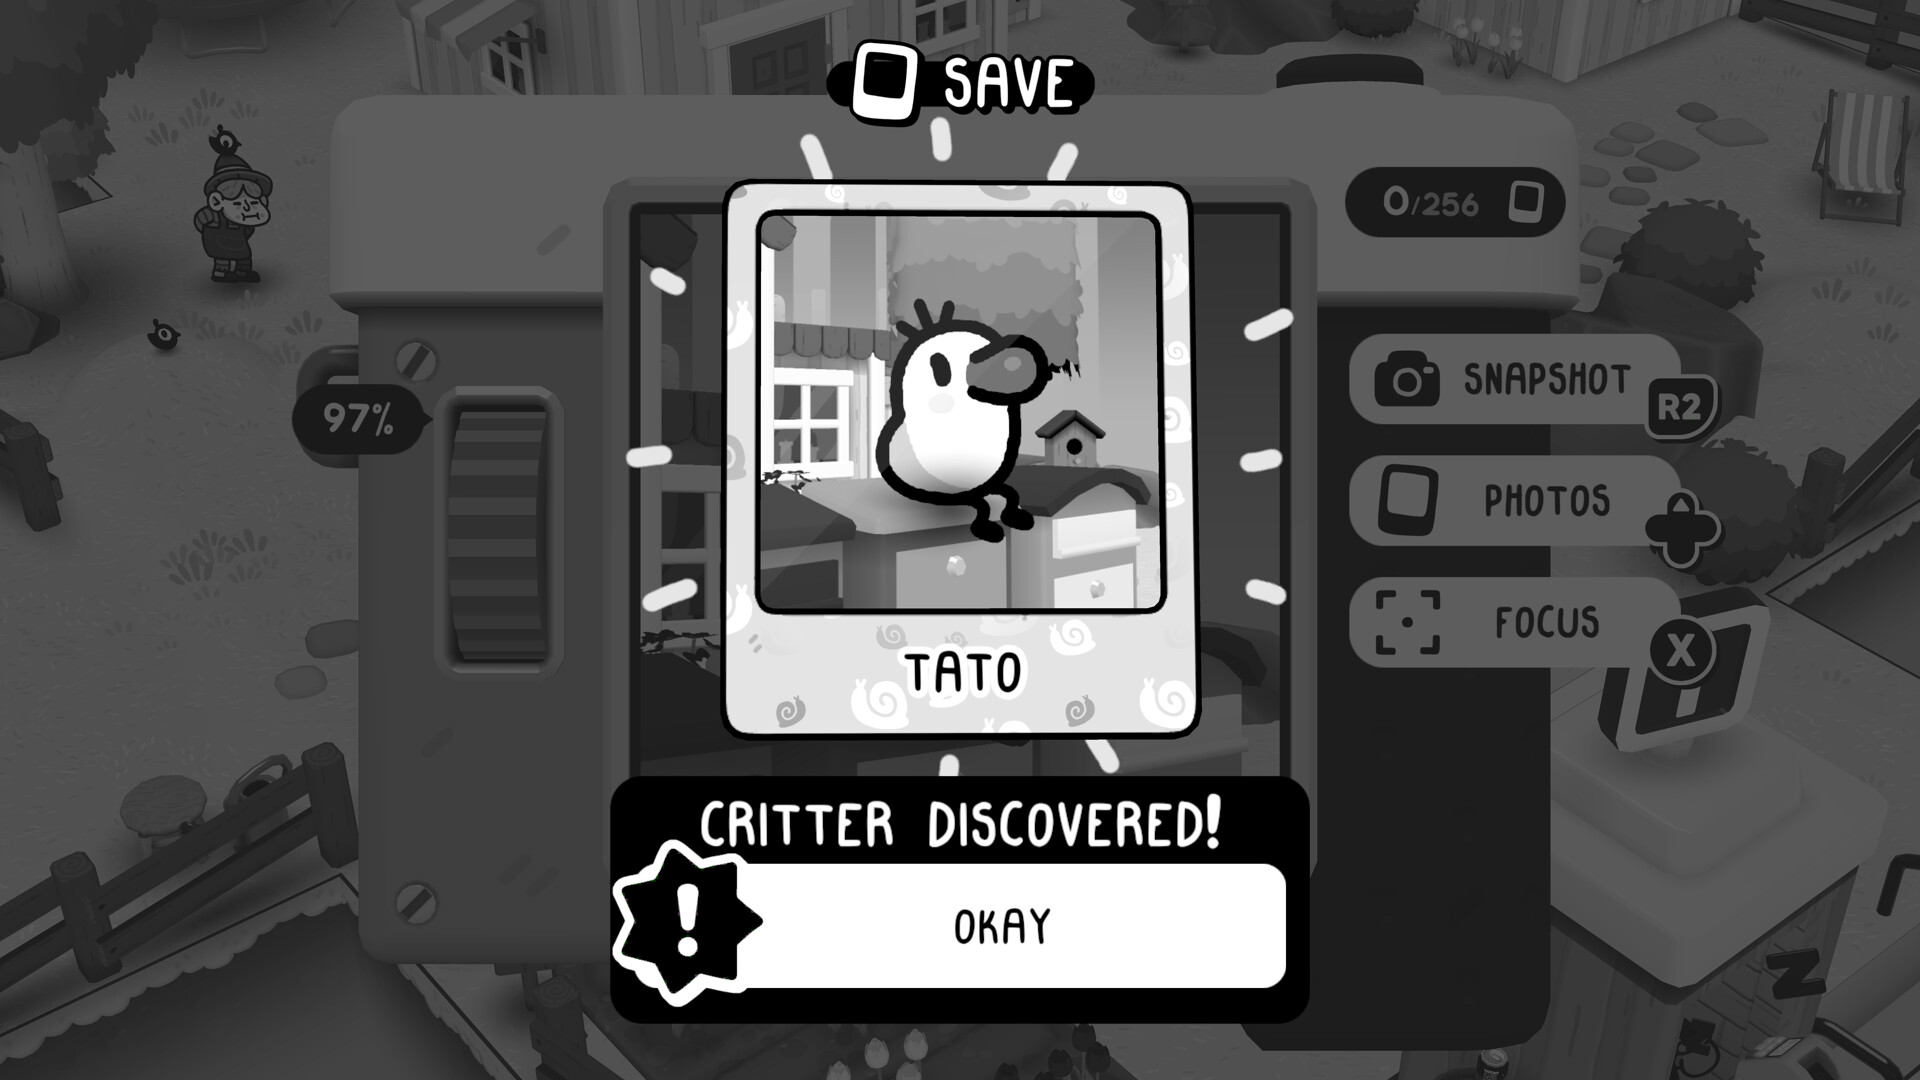
- Shoot the critters. Small animals wander on their own routes; the demo's forums already show players worrying a critter photo "did not count" — usually it is distance or framing, not a bug. Get close, fill the frame.
- Re-shoot instead of deleting. There is no penalty for a full camera roll, and some tasks are satisfied by a photo you took for a different reason.
- Talk twice. Characters often add a second line — or a new request — if you walk back up to them after a while.
FAQ
Do I need the demo first? No, the demo is simply the opening town. Playing it first does make Deltburg feel familiar, and the demo teaches the photo loop politely.
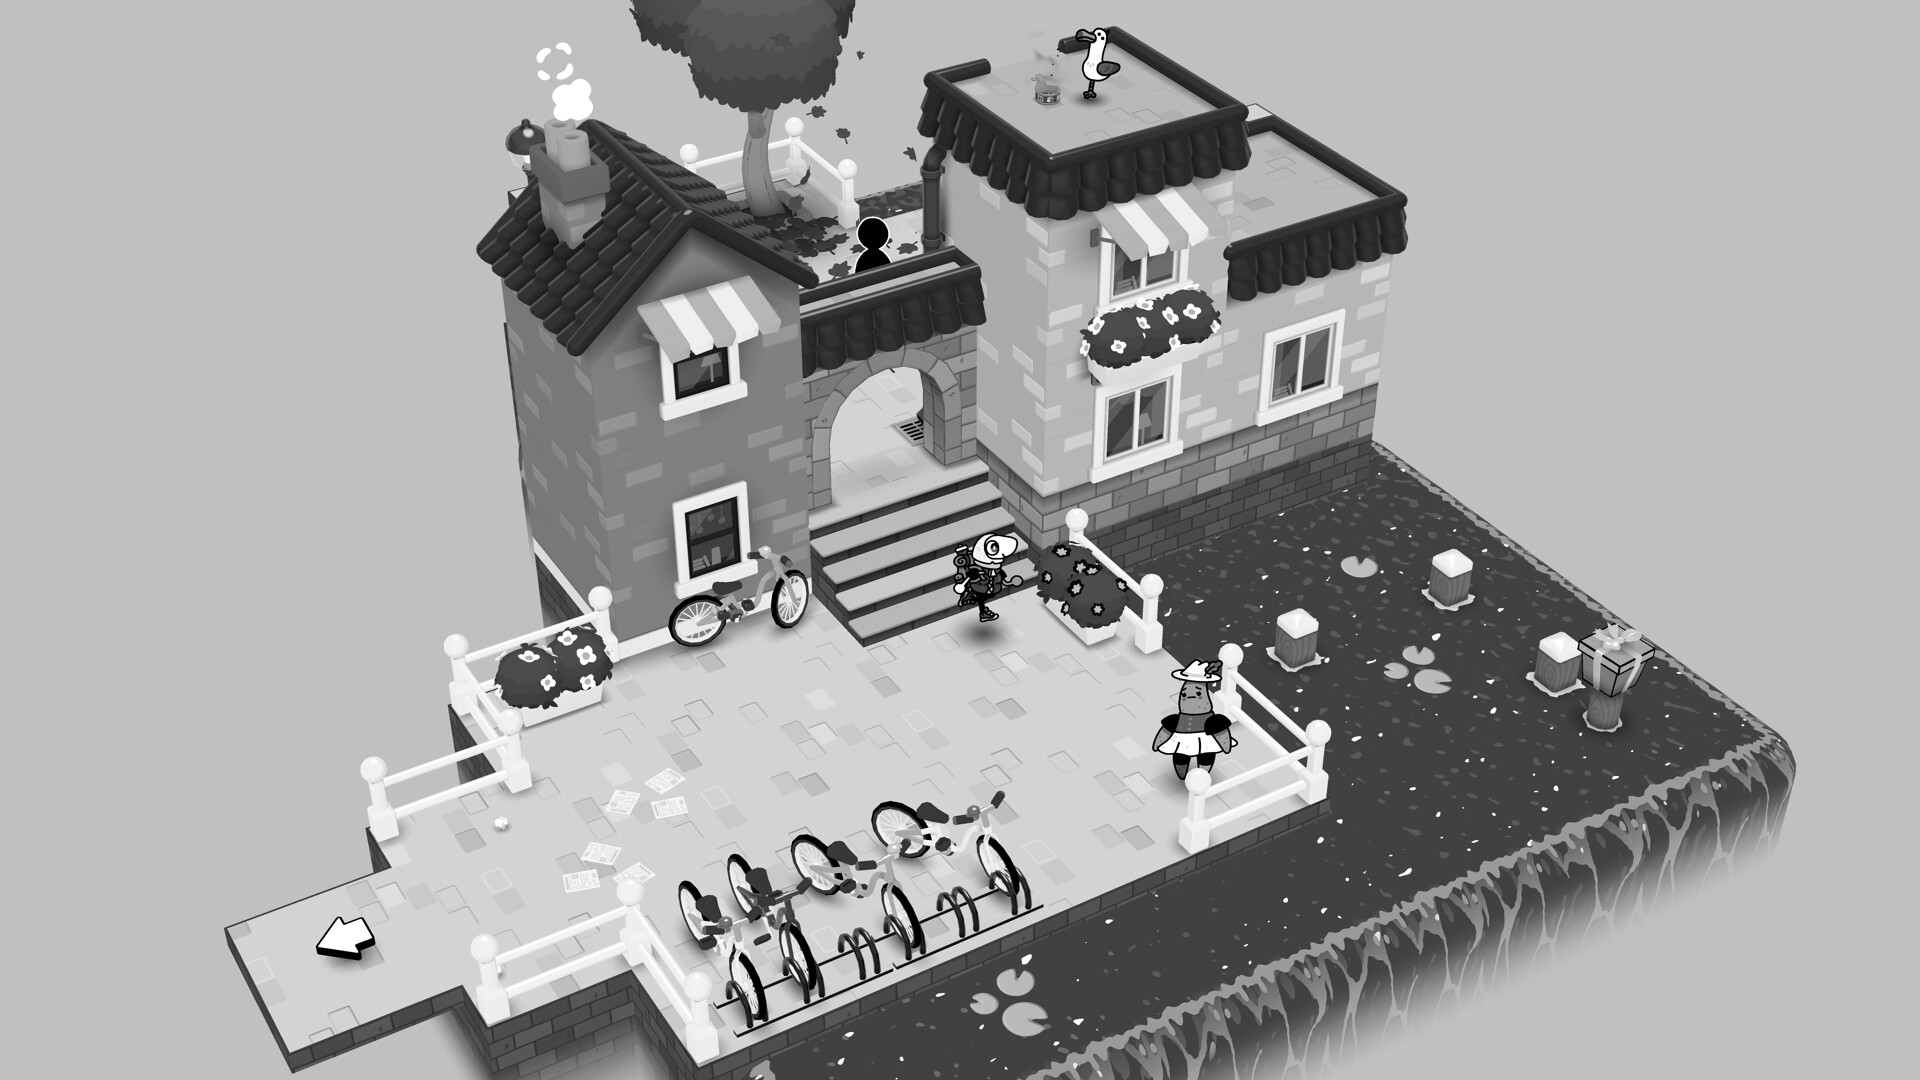
What carries over from the demo? Nothing mechanical — no saves, no stamps. Knowledge carries over: you will recognise Deltburg's streets and faces.
Which region should I clean up first? Whichever you are in. The regions reconnect, and requests stay open until you close them.
Is the game easy? It is a gentle adventure, not a challenge-driven one. The difficulty that exists is spatial — finding the exact angle someone wants.